Kit two in a series of 12 Building a Polly Model Prairie Tank Locomotive
This post depicts the tasks and steps that I completed with kit two, wheels and axels. The box that arrived this moth was very heavy, but in the well packaged to protect the contents. The main items are 6 wheels, pre-fitted to their respective axels, this included the fittings for their respective eccentric strap on the front and middle axel. In addition are all of the fixings to hold the wheels to the frames.
Most of the work on this kit involved filing the wheel spokes, a task that never seemed to end! I did some with a power tool but mostly with a couple of small files. The castings where brutal to the files and I needed to replace them at least once. When I was happy with the finish, I primed and paint the spokes with a brush. This gave a finish I was happy with. Looking at similar Polly model locos by other builders, I was able to decide how much of the wheel to paint. Some builders painted to the rim, I decided to paint the spokes only. This could change if there is a problem with rust on the rims or hubs.
Most of the other parts needed a clean with white spirit, and the axel keeps just needed a coat of primer and a black topcoat. The hardest part of this kit was to fit the grub screws to the eccentrics, the pre dimpled axels made this a lot easier, locate the dimple and Loctite the grub screw in place. This is another kit that needs you to study the diagrams and instructions, it’s vital that the wheels are placed in the frame correct way around, as the local will not function properly if they are backwards.
This website and blog should be seen as information only, I will be document building the 12 kits, if you need expert advice, please contact Polly Model Engineering.
Need tools – tools I used are listed here…

Kit Two
This is kit 2 of 12. This builds the wheels of the Polly Model Engineering Prairie Tank locomotive. This kit is not yet complete, so please check back to see my progress.
Materials
- 3 Sets of wheels on their axles, with pre-installed eccentrics, axel boxes and crank pins.
- 6 Spring adjusters
- 6 Spring retainers
- 6 Axle keeps
- 6 Springs (4 x main and 2 rear springs)
Tools
- Help my website continue - Consider buying your equipment needs from my affiliate links, evry little helps, many thanks.
- Bahco 9770 BE-9770 1.5 - 10mm Hex Key Set
- Magnusson Hex Key Set 30 Pieces
- Bahco S290 Socket Set, Metric 1/4" Drive, 29 Pieces
- Bahco BH59/S100BC 100 Pcs Bit Set
- Bahco S240 1/2″ Drive 24 Piece Metric Socket Set 10 – 32mm
- 5 Piece Metric Combination Spanner Set, Mini/Small Sizes, 3.2mm, 3.5mm, 4.0mm, 5.0mm & 5.5mm
- Laser 7132 BA Spanner & Socket Set 1/4"D 17pc
- AojSup 17Pcs Metal File Set, Professional Files Tools
- AFA Tooling Deburring Tool Kit
- Draper 98521 Storm Force 230V Rotary Multi-Tool Kit, 135W
- White spirit, thinners and sandpaper for surface preparation
- Black-it kit 4 x 500ml bottles
- LOCTITE 603
- Steam Oil 1000 grade ½ litre
- Don’t have an Amazon account – Click here to sign up to Amazon using our affiliate link and help support my website.
Instructions
1. This is the contents of kit two. I was really impressed by the quality of the parts produced, these arrived very well packaged. This kit had the main components already assembled, this made life a lot easier as a new and inexperienced engineer. I have found that where possible spraying the parts can provide a much better finish.

2. This image shows a closer view of the main parts in this kit. The wheel sets are in the packaging as they arrived from the factory.

3. This image shows a closer view of the main parts in this kit. This was taken after a thorough clean with white spirit. This removed the excess oil and what I believe to be the media used in the casting process.

4. This image shows a closer view of the main parts in this kit. As you can see, I have sprayed them with a primer coat.

5. In this image you can see some of the metal that needed cleaning off. These wheels did not need to be perfect, it’s a model of a working engine. I just wanted a clean and smoothish surface to apply the paint too. You can see the dimple provided where a grub screw will hold the parts in place. Before the wheels had been fettled with a small file.

6. After the wheels had been fettled with a small file.

7. This image shows a closer view of the eccentrics and axel boxes that have been pre fitted at Polly HQ. These really just needed a clean.

8. This image shows a closer view of the main parts in this kit.

9. This image shows a closer view of the wheels with some of the casting residue that needed to be cleaned off. This was as bad as it got over all 6 wheels.

10. The wheels after a coat of paint. I did quite a lot of research of how far to paint the black on the wheels. Should I go right to the edge or leave a chunk of the wheel unpainted. I am sure there is no right or wrong way, everyone will suggest something different, this was my solution.

11. In this image the eccentrics are in place. As a new engineer, I put the eccentric in almost the right place, I then used a small Hex key to find the dimple, before fixing it in place with both grub screws and thread lock.

12. You can see in this image the ½” x ½” by 1/8th" thick packing in place as suggested in the instructions. This is on each axle box. I picked this wooden batten up from a well know high street craft store.

13. It’s not something that you can see, but I did need to refine the surface on the frames to ensure a good slide fit with the axle boxes. Initially they were very tight and would not allow for easy movement.

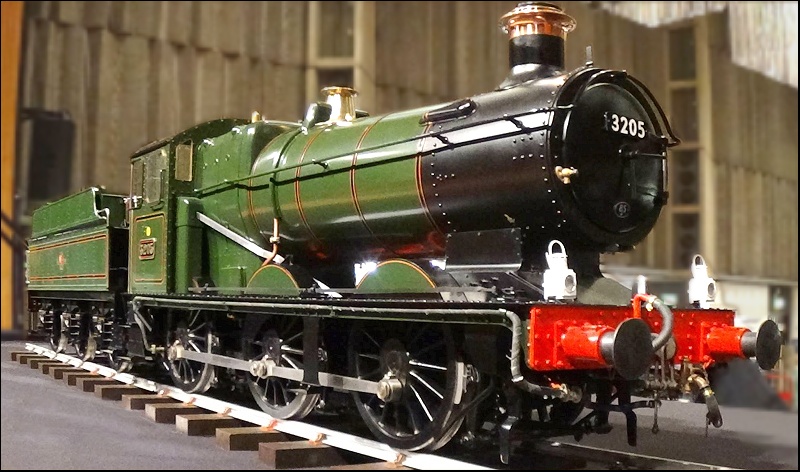
14. This image shows the loco on its wheels, kit two complete.

Notes
This completes kit number two, i have not weighed the kit, and i will now leave that until the end.
Recommended Products
I make no formal recommendation, I make no gain from this item what so ever, these links are provided for information only!